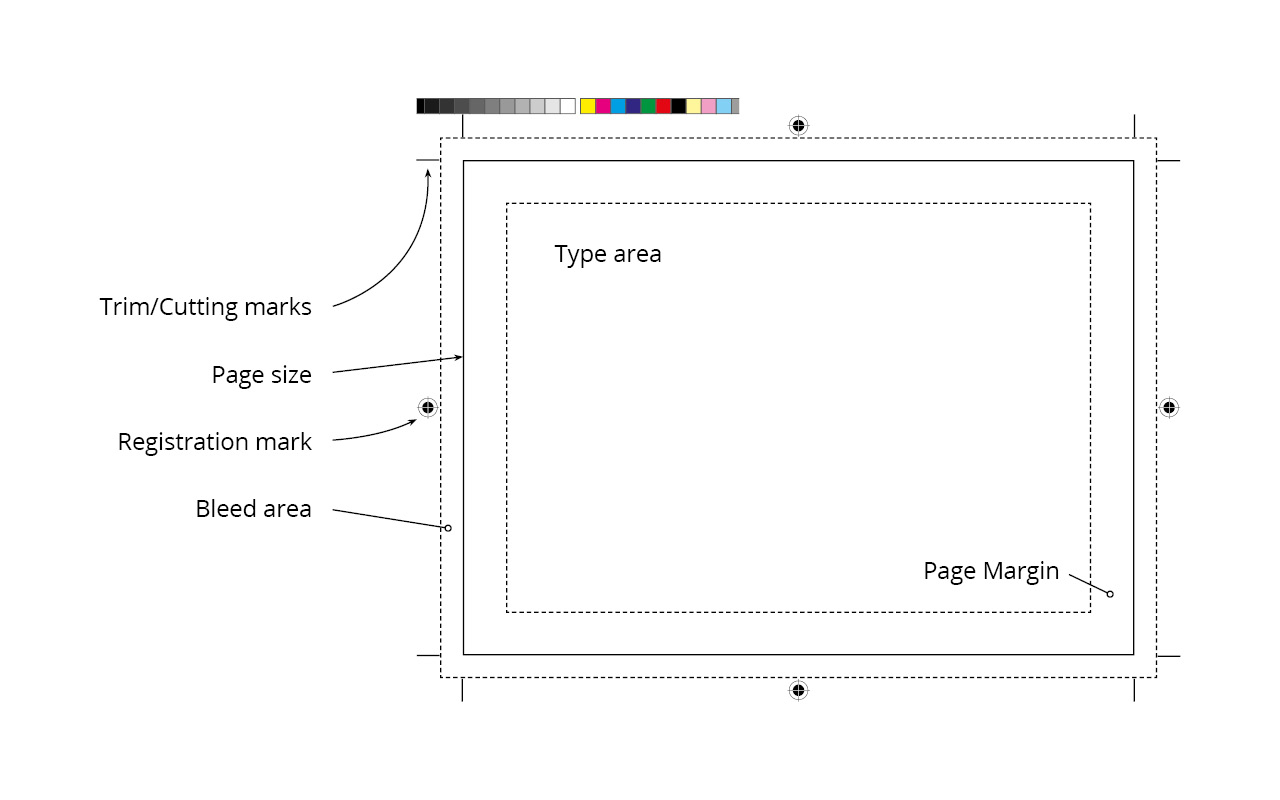
Have you ever tried colouring something in right up to the end of the sheet without getting any colour onto the surface below? Tricky, isn’t it? Then add a miniature wall around the perimeter, that your hand can’t go over and try to get right into the corners. This is why printing machines need print margins, bleed areas and trimming, as they simply cannot print right up to the edge of sheets with consistent colouring.
Pushing printers to the edge

How do you achieve consistent colour right up to the edge? What actually happens is that the stock material (paper, card, etc.) is slightly larger than needed all the way around. When placed into the printing machine, the artwork that is to be printed is also slightly too big (in the same proportions). This means that where the colour bleeds across the edge of the stock material, making is slightly less consistent in colour, with an unprinted outer edge outside of the print margin, the item can then trimmed back to the correct size, removing only the built-in ‘extra’ artwork and material. This leaves a perfectly coloured and finished trimmed edge, just the way it was designed to be.
This is why it’s very important to build the bleed, margin and trim areas into your design if you want to push printing to the edge.